iPhone, Luminar, Photo Challenges, Photography, Squares

April Squares: Top Shots, Remembrance Sunday

ISO 25 f/2.2 1/192sec 4.2mm

Day 11, find other responses here. November 12, 2017.

Date and Location of Photo: Shot at the Remembrance Sunday, or Poppy Sunday service held in my village. The artwork for these yearly services are done by young people who live in the village and they are usually quite evocative, but I found this one particularly so.

Thoughts on the Edit: For this edit I applied a black and white filter with a red filter. I then added a bit of the red and green back into the image. This image was cropped tightly to show more of the detail of the art and to crop out the people standing nearby.

April Squares, an Explanation:

When Becky announced that the April Squares theme was going to be “top”, I thought it over and then sent her a message, then pitched my idea. She was open to my theme within the theme and the result is my response to the April Squares challenge.

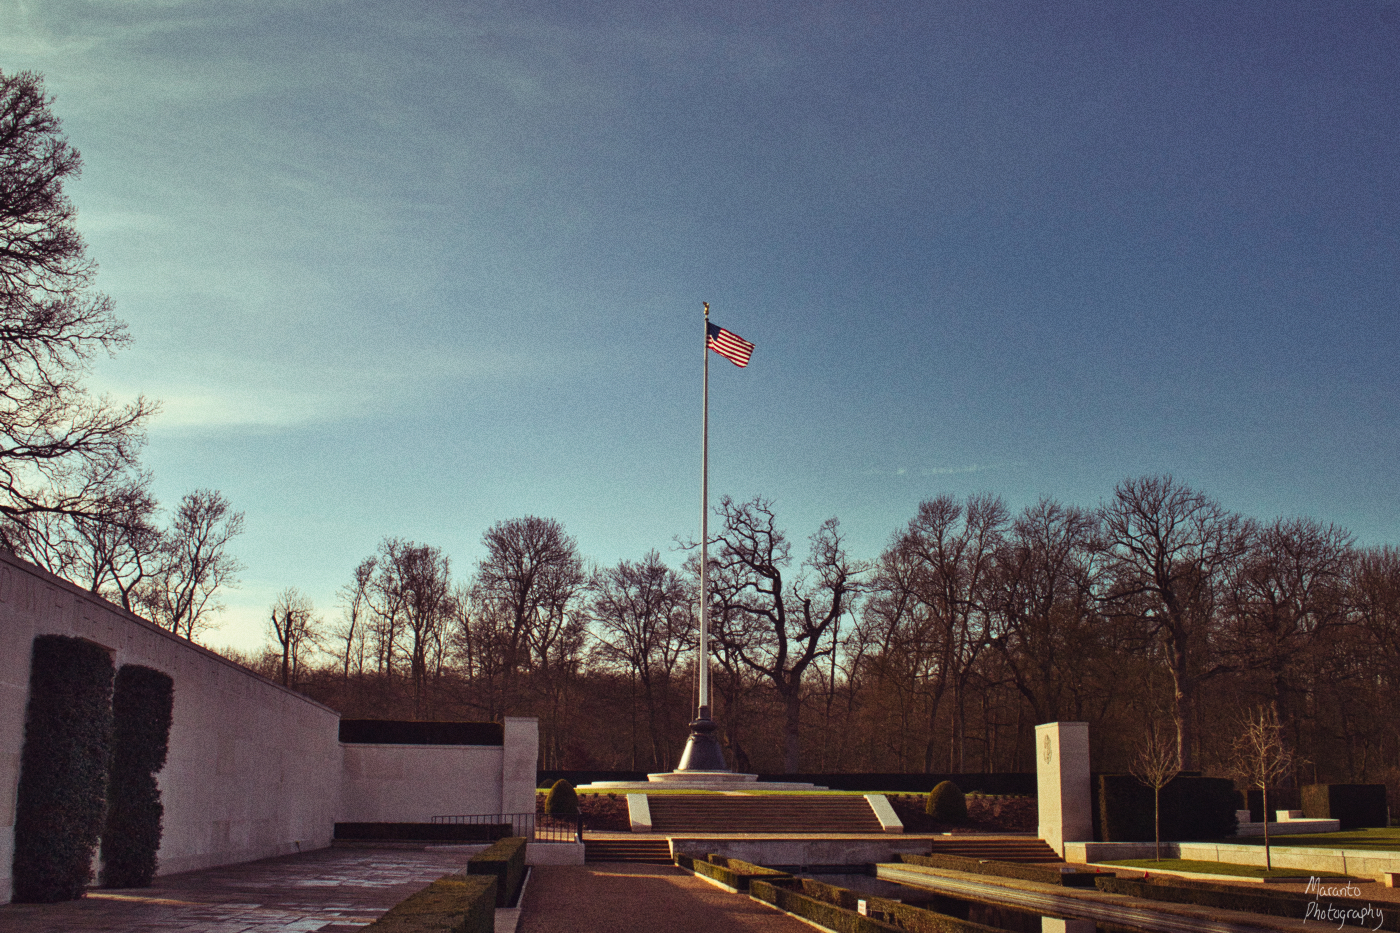
I move a lot and I have a move pending. I’ve lived here in England for about four years and will be heading to the United States. Exact dates to be determined, given the current world situation, details have yet to be worked out. My April Squares is a “top shots” reflection on the last four years. Each square represents some moment or place that was meaningful to me. They are in chronological order moving forward in time. I’m attempting to post every day. All photos will be edited in Luminar 3. I hope you enjoy following along, I’ve enjoyed the process of creating. Your comments and thoughts are welcome below.

Cheers!

Standard
18-55mm IS lens, Canon 80D, Cee's Fun Foto Challenge, iPhone, Luminar, Photo Challenges, Photo Editing, Photography, Tuesday Photo Challenge

Walls of the Missing

I am planning to visit the Cambridge American Cemetery again soon and as part of that, I was looking through some photo files that I shot this past winter. One of the features in the cemetery is its Walls of the Missing that have 5,127 names on it. It’s an interesting structure in that there are places where you can walk through and it operates as both a barrier to the outside, but also an entrance and exit between the cemetery and it’s exterior. So it’s both a wall and a door. It’s imposing, yet delicate; Both personal and impersonal. During this particular photo editing session, I was working with images that included the Wall:

These first images are ones that I shot on my iPhone using the app Hipstamatic. One of the features of that app is “randomize” which means you shake your phone, take your photo, and the app applies a random selection of filters. I created a series of those over the course of my visit.

I also brought my Canon 80D:

ISO 400 24mm f/11 1/250sec


ISO 400 24mm f/11 1/640

These two photos I edited in Luminar 3 with an eye to accentuating the warm but quickly fading light of a February afternoon.

It was an interesting work session, and I was giving some thought to how different the lighting conditions will be since my next visit will be in July. In that vein, I think it is nice as a photographer to have the experience of shooting the same place at different times of the year. It’s a good exercise in thinking through things like light. It’s also interesting to then have the time of year be part of the narrative of the image.

Do you have a place like this, that you visit regularly over the year in part just to see the changes? What do you think of my various photos, is there a particular one that speaks to you? Feel free to comment below.

Cheers!

Added to Tuesday Photo Challenge, Wall and Cee’s Fun Foto Challenge, 5+ Items.


Standard
11-22mm Lens, Canon 50D, Luminar, Photo Challenges, Photo Editing, Photography, Tuesday Photo Challenge, What I Am Working On

What I Am Working On: I Wonder what that Button Does?

Sometimes a little bit of curiosity can be a good thing. When it comes to photo editing this translates into: just push that button or slide that slider and see what happens. It’s usually pretty easy to back up if you end up with a result that you don’t like. All you need is curiosity and a little bit of time. This image below was taken at Pointe du Hoc.

ISO 400 22mm f/16 1/100sec

My first edit was this one:

ISO 400 22mm f/16 1/100sec

It features a lot of the edits you would expect from me. I’m hoping you think this edit pops a bit and is a bit more clear. I’m hoping that you don’t think that it varies too much from the original. With this type of edit, I’m looking to represent the scene as it was.

As per my recent blog post, I saved a version of it. Then I continued to edit. I was looking to create something a bit different:

ISO 400 22mm f/16 1/100sec

When I am in this more creative mode, my layer panel starts to look like this:

Layers Panel screenshot

If you have no interest in using layers or already know all about them, feel free to skip the rest of this post, leave a comment or like below if you that appeals to you. The rest of this post is a bit about layers and how to use them.

In the screenshot, the original file and then the layer above it is what led to the natural version of the photo. The layer marked, “silver lining” and the two above that are part of the more creative version. I’d like to mention a few things that I think are important to consider when making a creative edit. The first is that I think it is really helpful to have additional edits on separate layers. This makes it easy to see what you have done and remove or further work on any particular edit. Making a new layer is easy and pretty universal in photo editing applications. In this particular case, I clicked on the “+” to the right of “Layers” and a drop-down option was “add adjustment layer”. Let’s say on Adjustment Layer 1 I wanted to adjust the exposure.  I do that and then add Adjustment Layer 2 and edit for clarity on that layer.  I could then click on the eyeball from Adjustment Layer 1 and that would turn off the exposure adjustment if I wanted to see what the photo would look like with just the clarity adjustment. That gives me the flexibility of having several edits that can easily be adjusted or even deleted independently of one another. Also, It is possible to rename layers, for example, the layer that is called silver lining, that is the name of the filter I put on that layer. In this case that not only makes it easier to know what adjustment is there but also functions as a reminder to myself as to what filter I have used. Changing the name of a layer is done by clicking over the text, and changing the text when the text box appears.

Your thoughts on my edits and the use of layers are all welcome below.

Cheers!

Added to Tuesday Photo Challenge, Wonder.

Picfair version here.

Standard
11-22mm Lens, Canon 50D, Lens Artists Photo Challenge, Luminar, Photo Challenges, Photo Editing, Photography, Picfair

Altering the Landscape

Usually, when I think of landscape photography I think of sweeping vistas devoid of people or man-made elements. But not always, so when I saw there was a photography challenge up this week where “landscape” was the theme, I thought I would consider something that had an obvious human footprint.  At the moment, I am working on processing photos that I took in Normandy, France. I have a lot of beautiful coastline shots. Normandy is a beautiful area, but obviously, it’s history includes that of WWII. I will be posting a photo in a few days of the coastline of Dieppe, in Normandy, but first I edited these photos from the Dieppe Canadian War Cemetery:

ISO 200 10mm f/16 1/125

This first shot is shot at the widest angle, to show as much of the landscape as possible. It’s been edited to give the colors a bit of a boost and a bit of clarity. This second shot is edited in much the same way:

ISO 200 12mm f/16 1/160sec

To take this shot, I brought the stones into more detail by both taking a step closer and by bringing my lens from 10mm, which would have shown more of the scene, to 12mm, which shows less.

With these two shots, I was hoping to convey the reality of what this cemetery looks like. Most of the soldiers buried here are Canadian, the rest are British. The soldiers laid to rest here were killed in the Dieppe Raid of 1942. It was a disaster for the Allied Forces and while not all of their casualties were left behind, a lot were. It is interesting to me that this cemetery was created by the Germans, see the back to back stones of the first rows? that is typical of a German style of burial. Perhaps more interesting is that when the war was over, this cemetery remained here.

What I’d like you to know if you’re Canadian or British and have a family member or countrymen interred here and you aren’t able to visit, the Germans picked a beautiful spot to bury your loved one. I hope that my two pictures convey a sense of the beauty of the landscape here.

Which brings me to my third photo:

ISO 200 10mm f/16 1/160sec

This last edit is where I am trying to process what would have been the terror of the raid with the beauty of the land itself. To shoot this idea, I decided to shoot from behind the stones and into the sun. The filter I applied to this had a red tinge to it. The red for the heat of battle, blood itself, confusion, anger and hatred, and the red prominently in the Canadian flag. It’s a lot to try and sum up in one image.

Cemeteries are wonderfully complex places to me. I hope that I have conveyed some of that in these images. What do you think of my edits? Your comments are welcome below.

Cheers!

Added to Lens-Artists Photo Challenge, Landscapes.

Picfair shot 1.

Picfair shot 2.

Picfair shot 3.

Standard
11-22mm Lens, Canon 50D, Instagram, iPhone, Photo Challenges, Photo Editing, Photography

A Study in Light

You won’t have been a photographer for very long before you hear of the term the golden hour. It’s a great time to shoot outside as the light is usually really nice then. I appreciate that light, but honestly, sometimes I take photographs in whatever the conditions are because that’s when I could be there.

I was visiting Omaha Beach nowhere near the golden hour. The light was flat and hazy, usually a bad thing, but in this case a bit magical:

ISO 640 16mm f/16 1/640sec

I love that the light was illuminating just one part of this Les Braves Memorial.  The version you see above is an HDR image.  It was created using three exposures, here is one of the original exposures:

ISO 640 16mm f/16 1/640sec

One of the things combining the exposures did was combine the waves, which I like. You can also see that while I was editing I removed the fence.  I used the spot healing brush tool in Photoshop to do that.

Further along the beach, I took this photo with my iPhone that I then posted to Instagram:

View this post on Instagram

#omahabeach yesterday and today #dday #wwii #lestweforget

A post shared by Amy Maranto (@marantophotography) on

That photo is not edited, I think the natural light in it was perfect and skipped putting a filter on. My husband had brought along photos of the landing at Omaha and we lined up that classic image shot by Robert Capa with the approximate place on the beach. My husband had brought along several resources for us to look at while we exploring the beaches, which made our visit that much more moving.

Have you ever been out shooting in “bad” light only to find out that it was perfect? Do you like the HDR version or does the original memorial shot appeal to you more? Feel free to leave a comment below.

Cheers!

This post was added to Nancy Merrill’s Photo a Week Challenge.

Standard
iPhone, Photo Challenges, Photo Editing, Photography, Picfair

When It All Adds Up

A while back I blogged about this photo:

ISO 800 50mm f/13 1/160

ISO 800 50mm f/13 1/160

Based on what I could find online, a few things like his name and date of birth didn’t seem to add up when you looked at this grave marker.  So I went back to the Cambridge American Cemetery and Memorial. The staff member who helped me was a bit surprised that I wasn’t researching a relative,but was more than happy to give me a hand in my research.  It ended up being pretty simple.  The Carlisle H. Reville whose grave I photographed, was Carlisle H. Reville Jr.  My search had been further complicated by the fact that the 1930 Census record was handwritten, and the later data entry spelled his first name wrong.

It's easy to see why a mistake was made.

It’s easy to see why a mistake was made.

So, on the data entry portion of this page, he is listed as “Caulislo”, easy to see why.

In the course of my research I found out that Reville Sr. had served in WWI.  I also found out that Reville Jr. had first been buried at another cemetery but was moved here when this cemetery was established.  What I can’t find is a decent lead on the family, other than they were living in Pennsylvania in the 1930’s and 1940’s.  If you happen to know this family, I am more than happy to have them contact me if they would like a digital copy of the photo I have taken of their relative’s grave.

Since I was back at the cemetery, you know that I took some more pictures.  Here is one from that day:

The edited black and white version

The edited black and white version

I’ve edited this in Lightroom and using a black and white plug-in.  I’ll post the original below, but one of the first things I did while it was still a color version was to bring out detail in the shadows and increase the saturation in the blues and the greens.  It looks horrible in that state, but once it is converted to black and white it looks good again. Here is the original file:

The original

The original

The subject is well suited to black and white I think.  I’ve included it in my portfolio at Picfair. Somehow the color version just seems to vivid for the subject matter.  What do you think?  Feel free to comment on my new photo or on the follow up from my older post.

Cheers!

Standard